
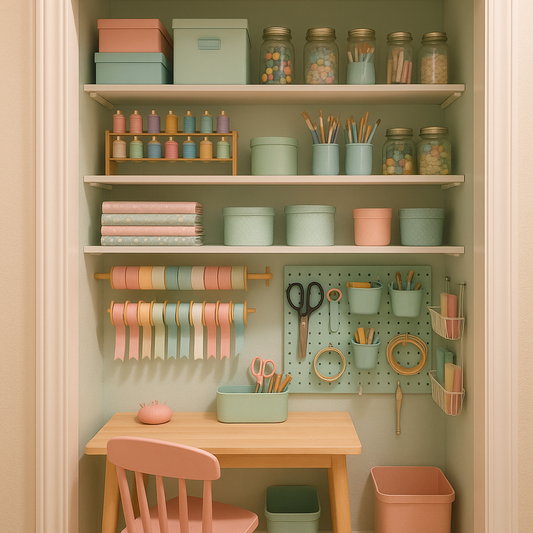
Organizing your creative space starts with the right storage. But sometimes, assembling that new rack feels harder than the masterpiece you're trying to create!
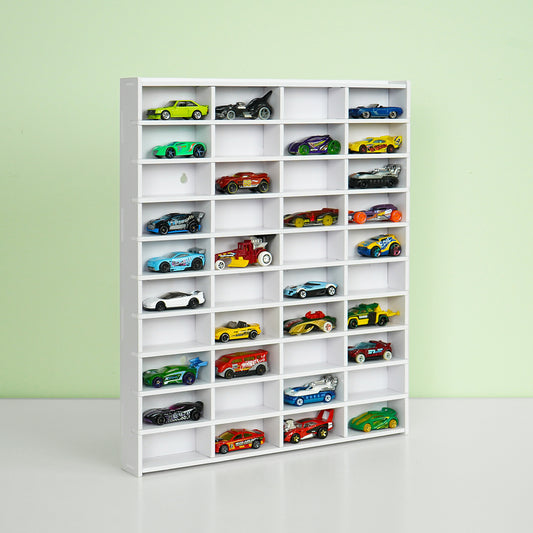
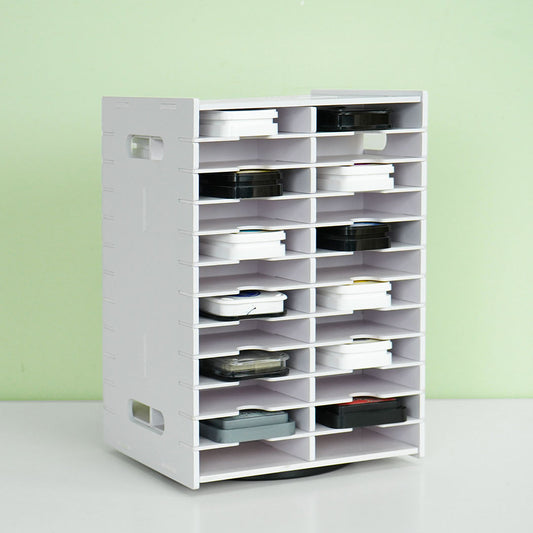
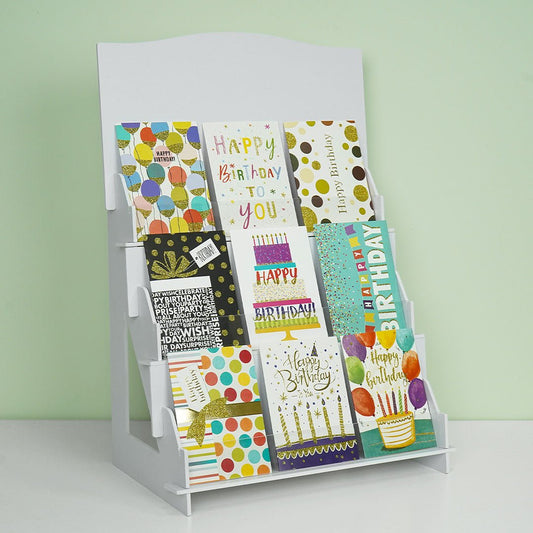
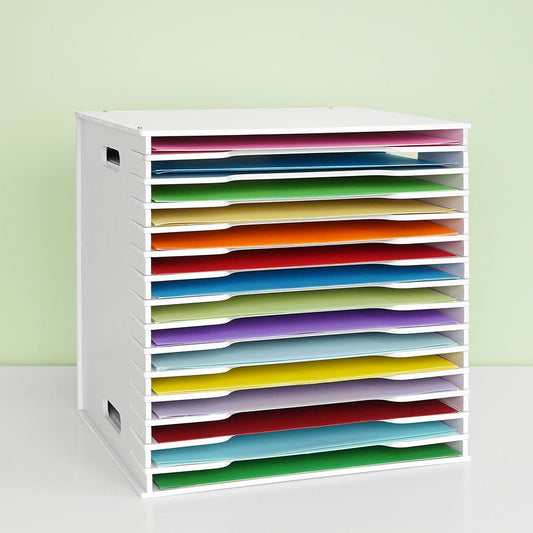
At Sanfurney, we design easy-to-assemble, modular craft storage solutions that work even in small spaces. Whether you're building a marker rack, ink pad holder, or multi-slot organizer, here are 7 DIY storage rack assembly tips for art supplies to help you assemble faster and smarter.
🧰 1. Unpack and Lay Everything Out
Before you begin, lay out every piece on a flat surface. Double-check that all parts are included (we list them in every product manual) and nothing is missing.
🛒 Need a replacement part? Reach out here we’ve got you covered.
📖 2. Skim the Manual First (Then Follow Step-by-Step)
It’s tempting to jump in, but take 60 seconds to scan the instructions. Our storage racks are tool-free, but orientation matters especially with multi-slot or tiered pieces.
🛠 Pro Tip: Use a piece of painter’s tape to label the front-facing side for easy assembly.
🧱 3. Work on a Soft Surface
Build your rack on a towel, blanket, or soft mat to avoid scratches especially for our clear acrylic or plastic models.
🧩 4. Don’t Force Fit – Adjust Gently
Each slot or tab is precision-cut, but if something feels tight, don’t force it. Wiggle gently, or double-check that the part is facing the right way.
🔒 5. Secure Sections Snugly
Push each interlocking piece in until you hear a soft click or feel resistance. This helps the rack stand sturdily and prevents wobbling.
🖼 6. Keep Weight Distribution in Mind
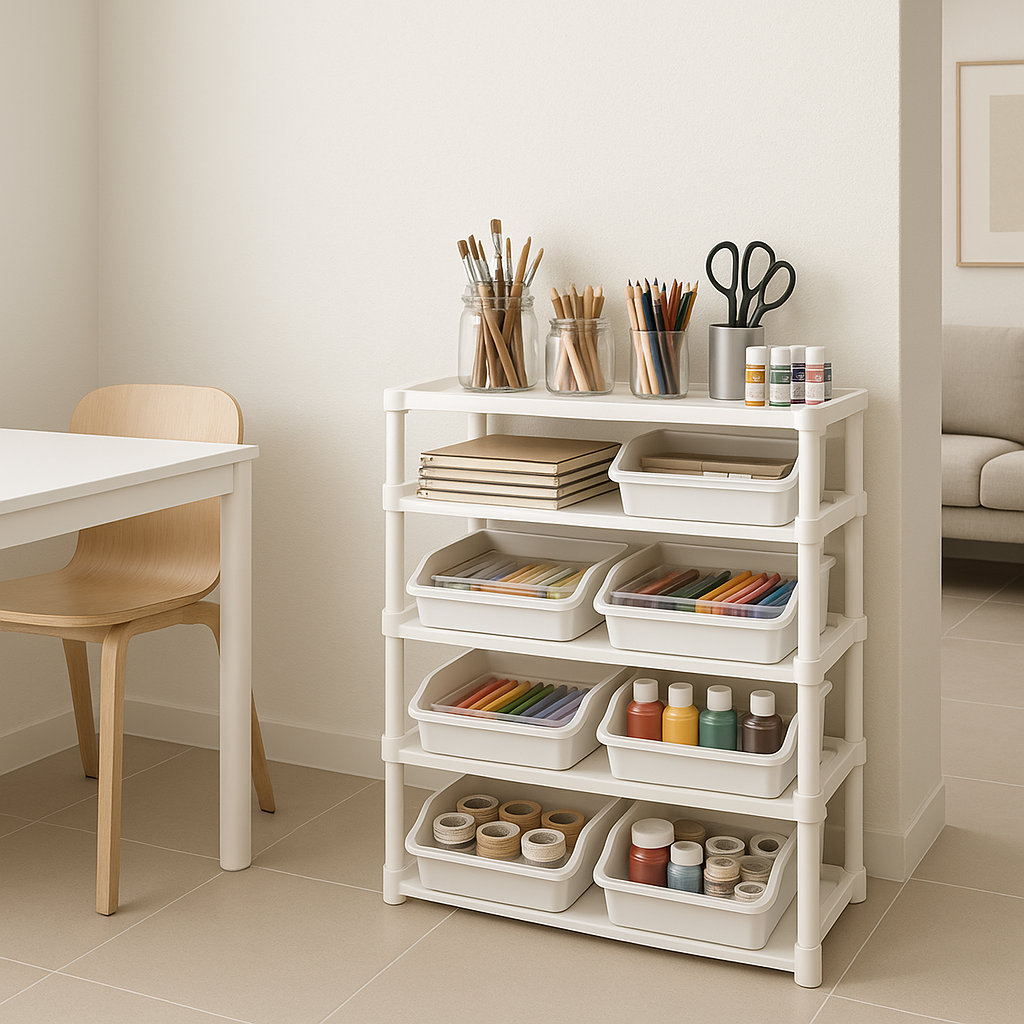
As you organize your art supplies (paints, pads, brushes), keep heavier items on lower tiers or bottom drawers to avoid tipping.
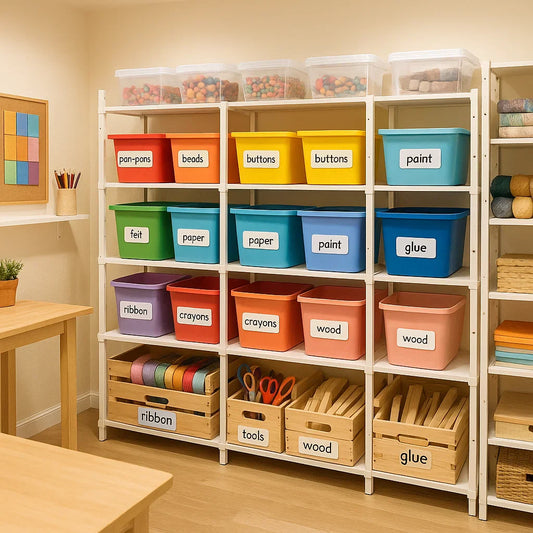
✨ 7. Clean and Label as You Go
Wipe down each part with a soft cloth before stacking items. Add labels for a clean, Pinterest-worthy finish!
Ready to Build Your Dream Rack?
Shop Sanfurney’s bestselling DIY storage racks:
Craft smarter, not harder and let your space inspire your creativity.
Tags:
Previous
7 Space-Saving Stackable Craft Storage Racks for Small Craft Rooms
Next
🧵 Limited-Time Coupon Deals on Craft Organizers – Shop, Save, and Organize!
Related articles
-
Nov 06 2025
🧠 The Psychology of a Clutter-Free Craft Room

-
Oct 27 2025
🎨 How to Design an Ergonomic Craft Workspace
-
Oct 20 2025
🎨 Decluttering Mistakes Crafters Should Avoid
-
Oct 17 2025
🎨 How to Turn Your Closet into a Mini Craft Room
-
Oct 15 2025
🎨 Smart Labeling Ideas for Craft Supply Organization

-
Oct 10 2025