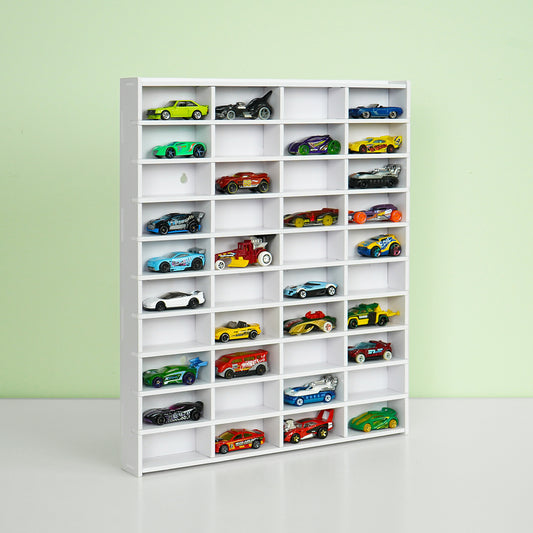


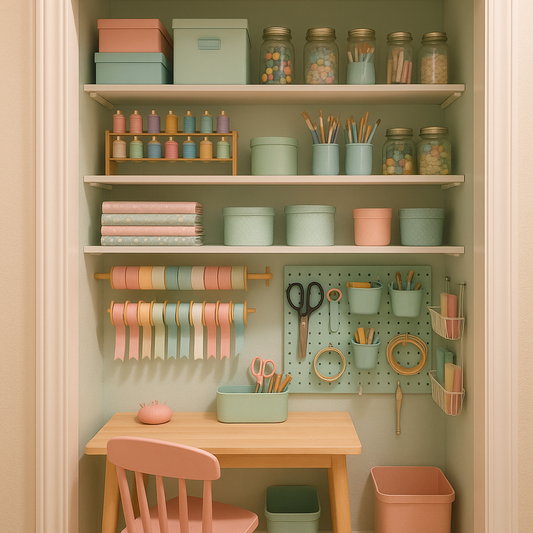
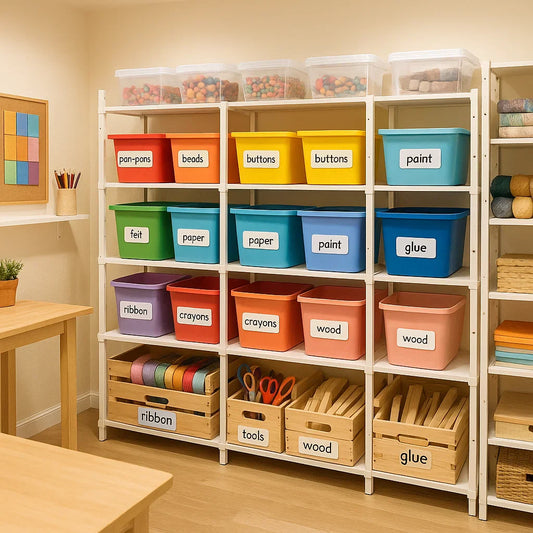
As an artist or crafter, you know the importance of having an organized workspace.
That's why our stackable ink pad racks are so popular - they allow you to maximize your storage space while keeping your growing ink pads organized and within reach, without wasting time searching through piles of clutter.
However, not all stackable ink pad racks are created equal, and it's important to know how to stack them correctly to avoid any mishaps.
From now on, we'll introduce the three different types of stackable ink pad racks and how to stack them.
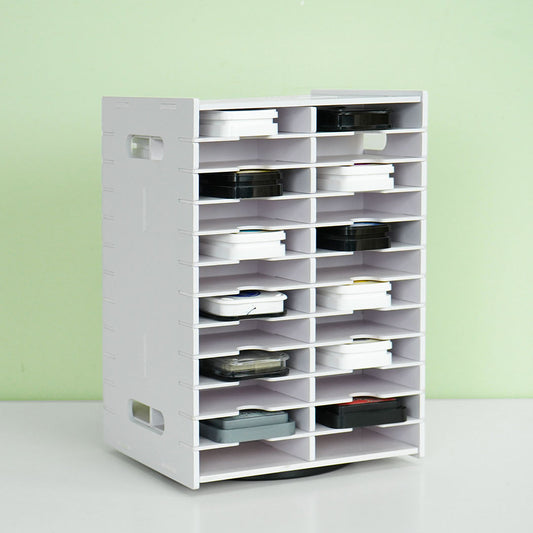
Distress Ink Pad Storage Rack
As you can see, our 24-slot Distress ink pad rack is stackable, but it can only be stacked vertically with the 12-slot ink pad rack, the 6-slot top ink pad rack and itself, which are all suitable for 3’’ x 3’’ Tim Holtz Distress Ink ® and Oxide ® ink pads.
It doubles the base storage capacity to hold up to 48 ink pads. Therefore, by stacking different types of Distress ink pad racks, it's easy to store and organize more than 48 ink pads, and each stack can add at least 12 or more ink pads.
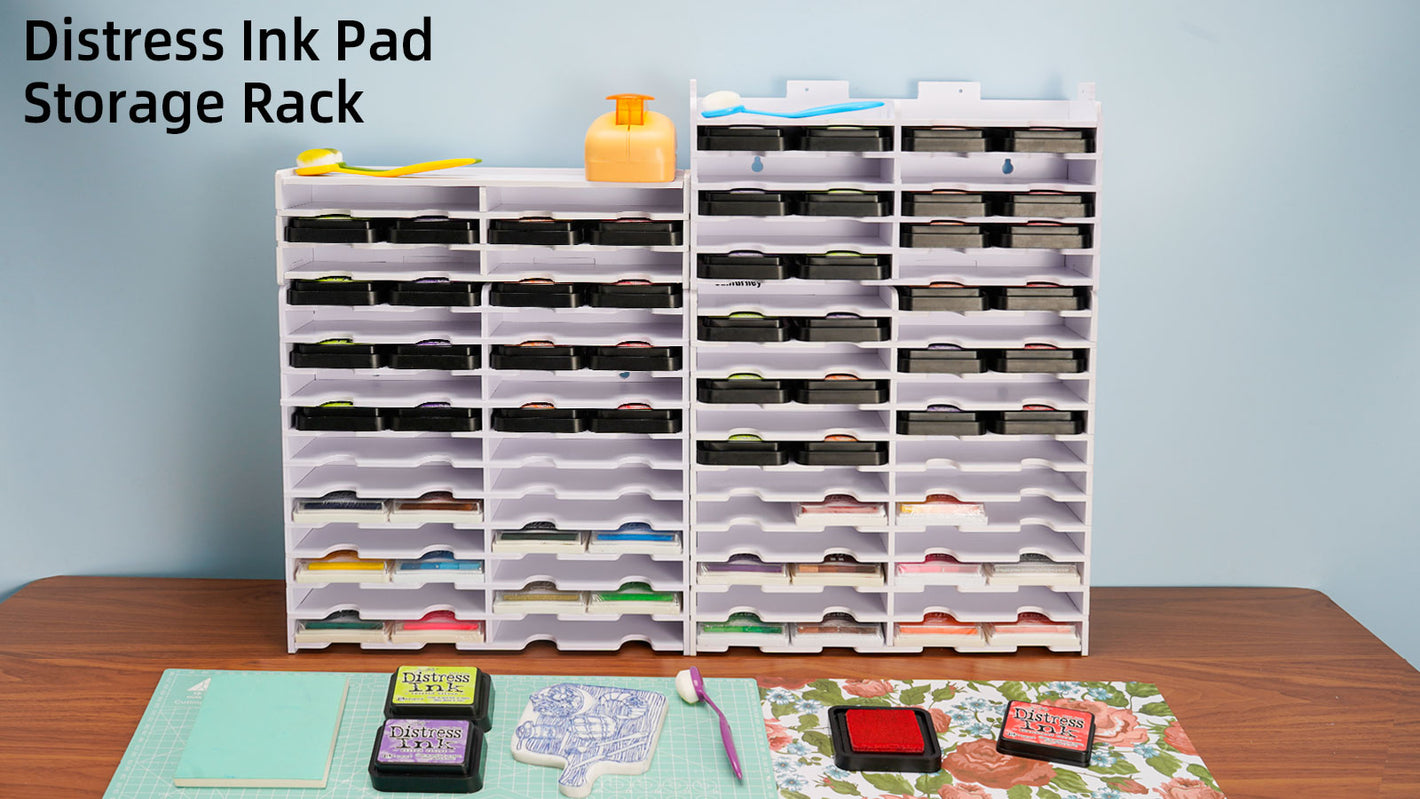
- 24-slots with 24-slots for a total of 48 slots.
- 24-slots with 12-slots for a total of 36 slots.
- If you want to get a flat top, you can add 6-slot top rack.
Standard & Slim Ink Rad Storage Rack
The 36-slot Standard ink pad rack and 44-slot Slim ink pad rack can be stacked with each other.
Additionally, the 18-slot accessory rack and 9-slot top ink pad rack for the 36-slot ink pad rack, as well as the 24-slot accessory rack and 12-slot top ink pad rack for the 44-slot ink pad rack, are also stackable with each other.
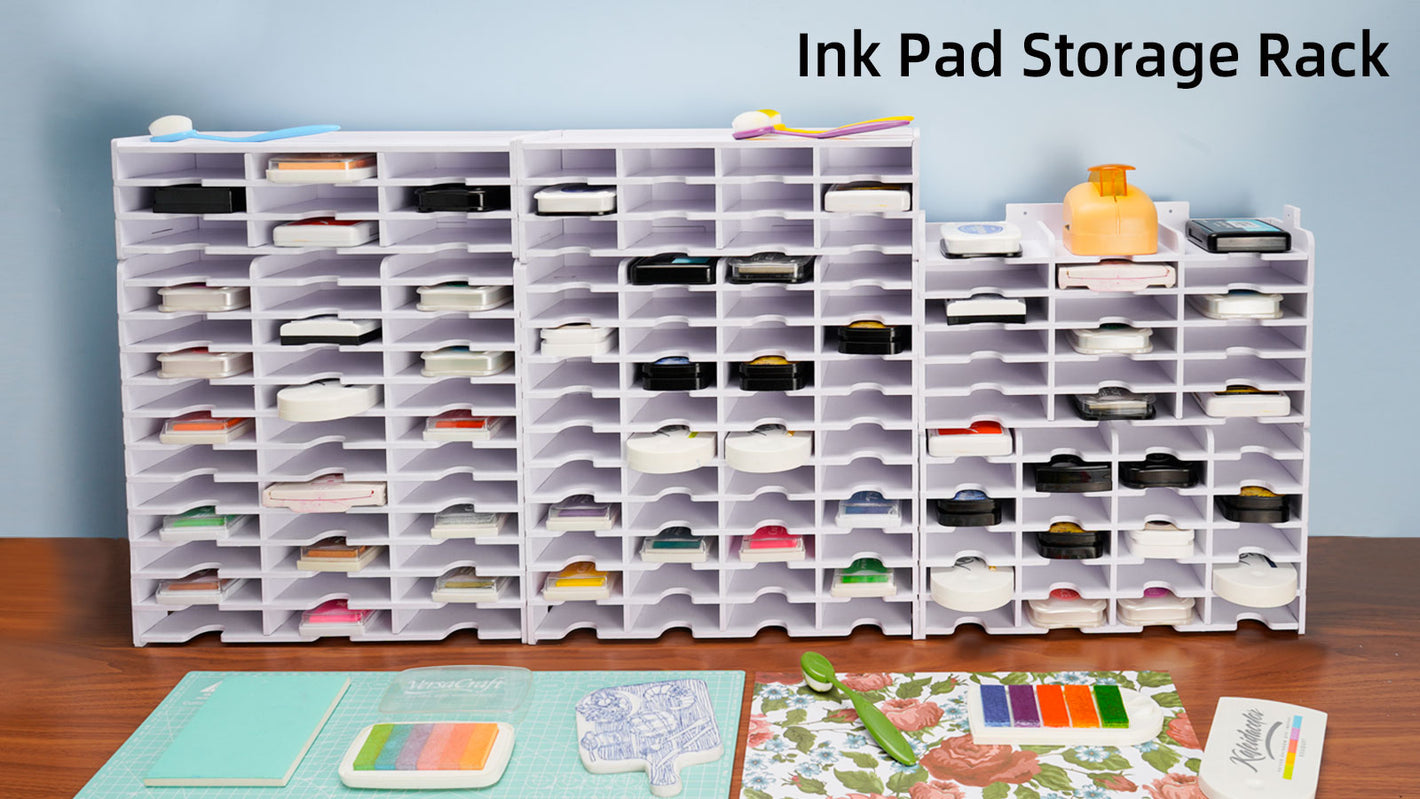
- These products are great for artists who have both standard size ink pads and slim ink pads. They provide a convenient and organized way to store and access your ink pads, and the ability to stack them saves valuable workspace.
- Whether you're a beginner or an experienced artist, having a well-organized ink pad holder can make a big difference in your creative process.
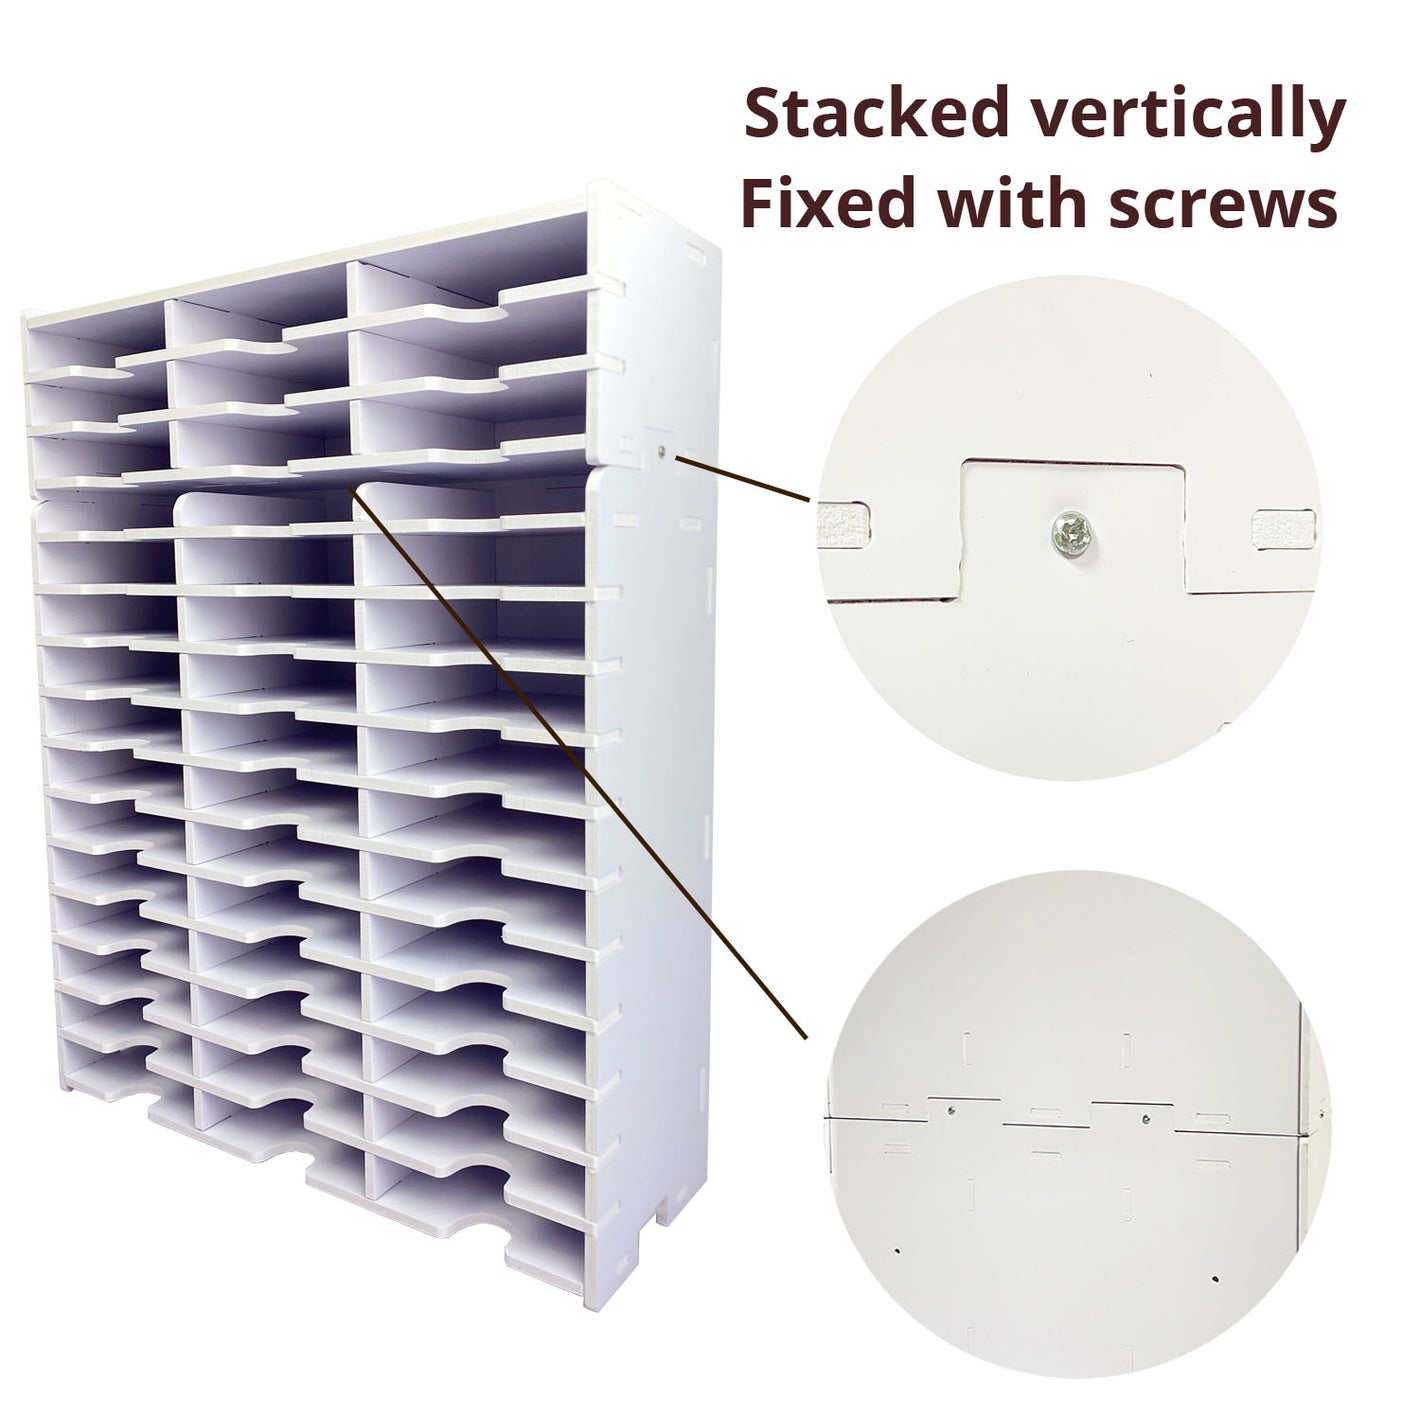
1. Stack two holders vertically on top of each other.
2. Use the included accessory screws to secure the holders together.
2. Use the included accessory screws to secure the holders together.
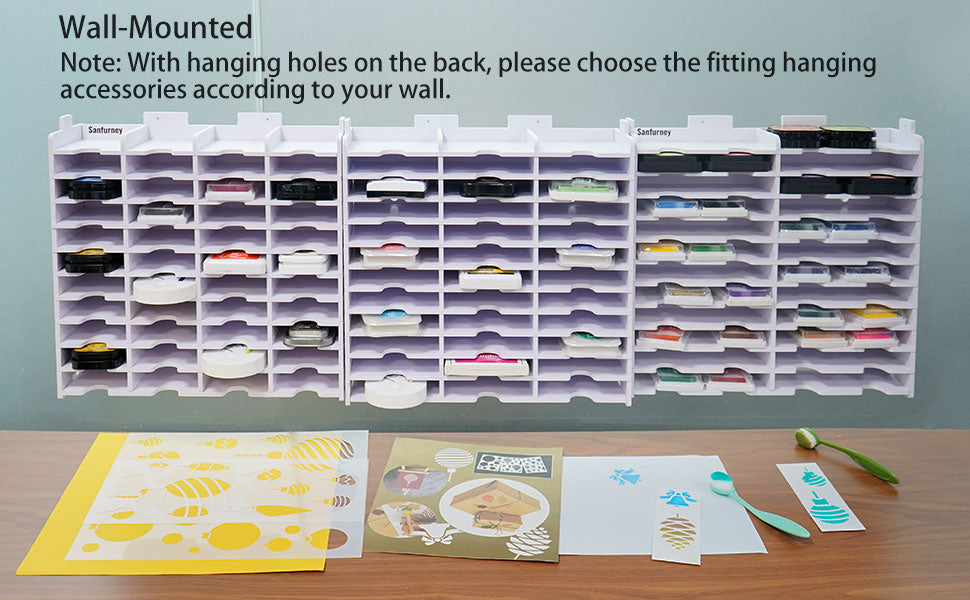
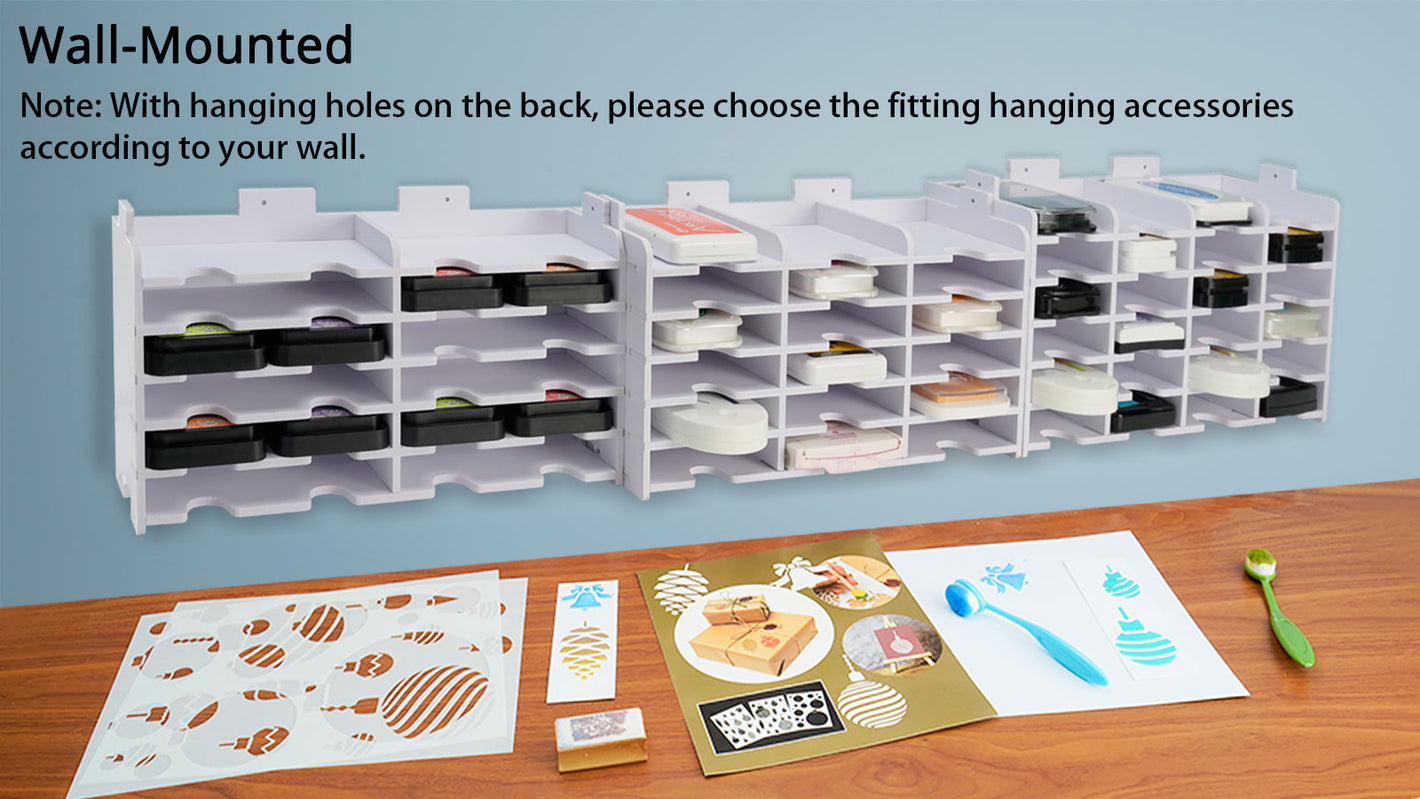
How to Hang the Racks on the Wall?
To hang the rack on a wall, you will need to use hanging tools. Our rack has hanging holes, we provide screws for you to use, but you can also use your own hanging tools if you prefer.
Here are the steps to hang the rack on a wall:
Choose a location for the rack on the wall and mark where the screws will go.
Drill pilot holes at the marked locations. Make sure the holes are the same size or slightly smaller than the screws.
Hold the rack against the wall and align the hanging holes with the pilot holes.
Insert the screws through the hanging holes and into the pilot holes. Tighten the screws until the rack is secure on the wall.
Check that the rack is level and adjust as necessary.
With these steps, you can easily hang your rack on the wall and have easy access to your ink pads.
If you have any questions or concerns, please don't hesitate to contact us.

- Thanks you for your support!
Tags:
Previous
How to Choose the Best Ink Pad Rack for Your Craft Space
Next
Hurry! Limited Time Offer: Save $10 on Your $50 Purchase!
Related articles
-
Nov 06 2025
🧠 The Psychology of a Clutter-Free Craft Room

-
Oct 27 2025
🎨 How to Design an Ergonomic Craft Workspace
-
Oct 20 2025
🎨 Decluttering Mistakes Crafters Should Avoid
-
Oct 17 2025
🎨 How to Turn Your Closet into a Mini Craft Room
-
Oct 15 2025
🎨 Smart Labeling Ideas for Craft Supply Organization
-
Oct 10 2025