Setting up a table at a craft fair is more than just bringing your products it’s about presentation, organization, and inviting design. If you're wondering how to display greeting cards at craft fairs, this guide will walk you through 7 practical and proven display strategies to help you sell more and stand out.
🧠 Why Your Display Matters
Shoppers at craft fairs are drawn to visual appeal. A professional and creative display:
Stops people in their tracks
Encourages them to browse longer
Highlights the value of your cards
Helps communicate your brand personality
A good display is just as important as the cards themselves.
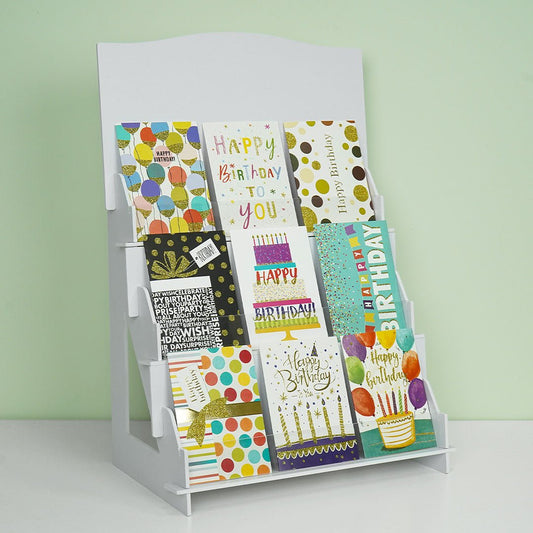
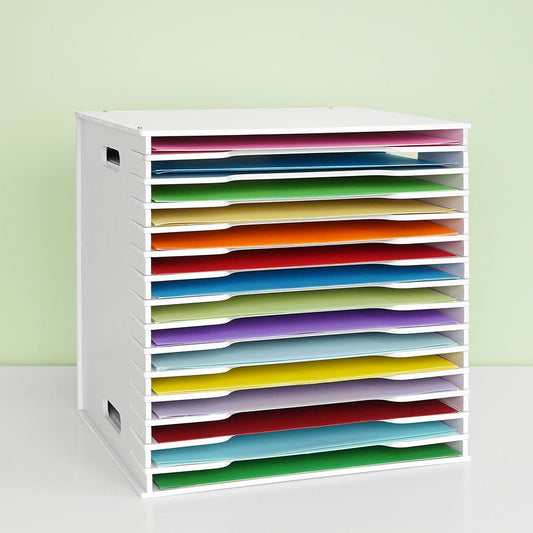
📦 1. Tiered Stands for Tabletop Displays
Tiered card racks are the classic solution. These let you show off multiple rows of cards vertically without taking up much horizontal space. They’re perfect for:
Organizing by occasion (e.g., birthday, thank you, sympathy)
Highlighting your variety and quantity
Easy viewing from all angles
Use clear acrylic, wooden steps, or metal racks for different aesthetics.
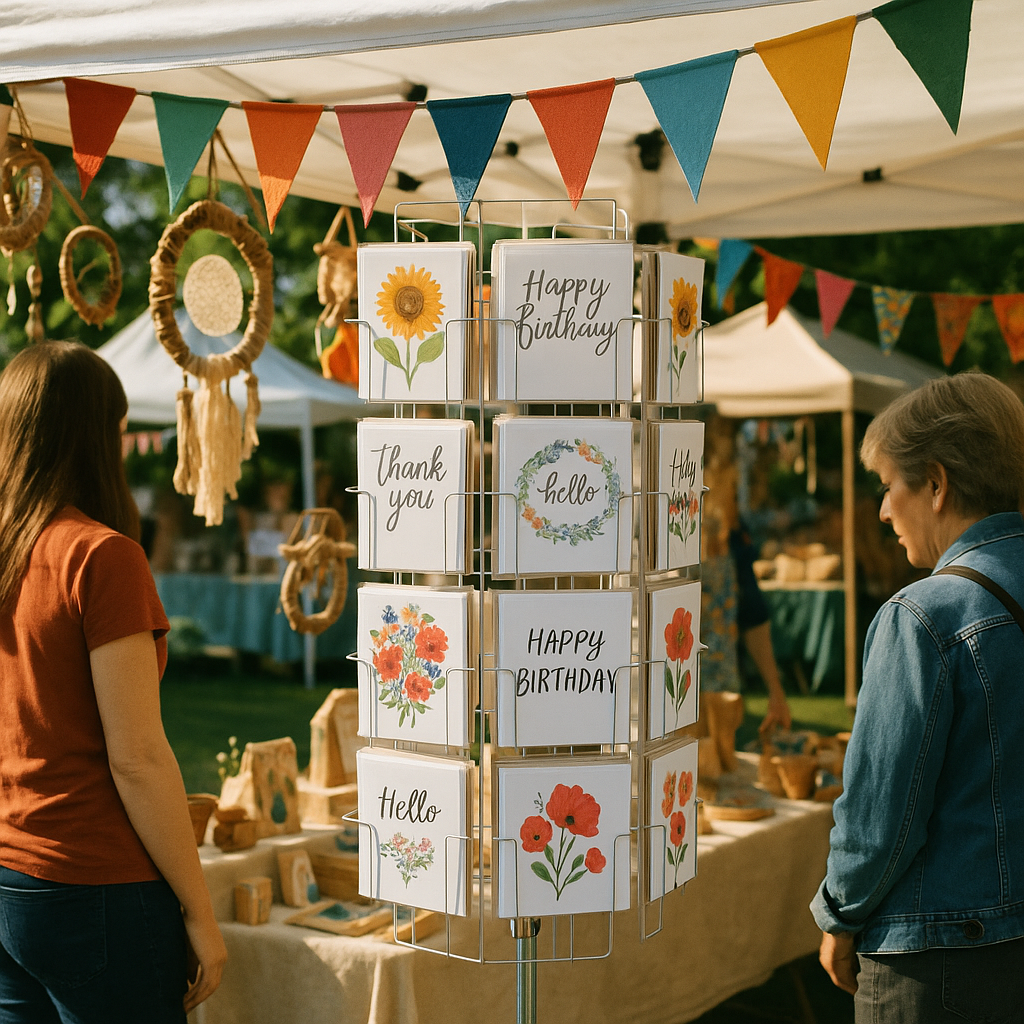
🔄 2. Spinning Wire Racks to Save Space
If your goal is to display a large inventory without crowding your table, a spinning wire rack is ideal. These are great for:
Organizing cards by theme or collection
Allowing customers to interact with your display
Saving room for signage, business cards, and packaging
Add small labels or dividers to make navigation easier.
✨ 3. Creative Pegboards or Clip Displays
Want to catch eyes from across the room? Use a standing pegboard or vertical board with clips to hang your cards at eye level. This works especially well for:
Premium or artistic card designs
Backdrops behind your booth
Interactive setups where people flip through styles
🧺 4. Bins, Baskets, and Crates
A rustic or handmade brand can benefit from a cozy setup. Use wooden crates or woven baskets to give your booth a warm, approachable feel. Group cards into categories with handwritten tags or chalkboard labels.
This casual setup is portable and budget-friendly, ideal for new vendors.
🖼️ 5. Feature Cards on Mini Easels or Stands
Select 3–5 of your best-selling or seasonal cards and place them on mini easels. This creates a gallery-style focal point on your table and draws people in with featured work.
Pro tip: Rotate the display every hour to show new favorites!
💡 6. Show Cards "In Action"
Help buyers visualize the experience by setting up a sample card in an envelope or gift setting. Add a sign like:
“Give someone a smile — handcrafted with love.”
This builds emotion and shows that your cards are more than paper — they’re gifts.
🏷️ 7. Clear Pricing and Signage
Whatever your layout, make sure your pricing is:
Visible from a distance
Easy to understand (e.g., 1 for $5, 5 for $20)
Accompanied by a call to action like “Mix & Match” or “Perfect for Any Occasion”
Don't forget a visible business name, Instagram handle, or QR code to your shop.
🔚 Final Thoughts
Your cards are the star, but how you display them is the stage. With a combination of vertical space, interactive racks, and personal touches, you’ll create a booth that not only looks professional it sells.
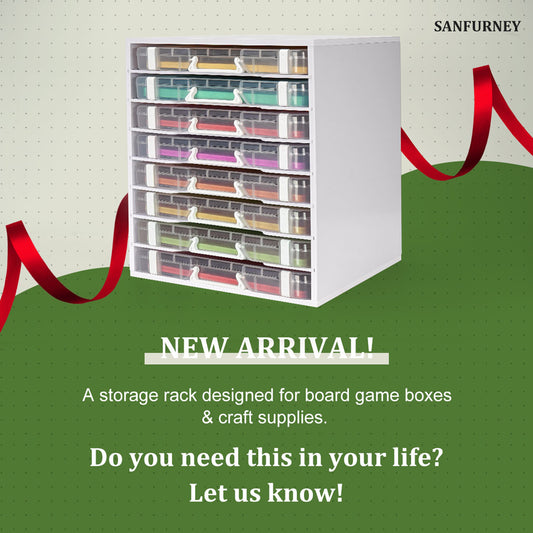
Need an affordable greeting card display? Check out Sanfurney’s portable display rack made for makers like you.
📎 Summary Checklist
✅ Tiered display
✅ Spinning rack
✅ Vertical pegboard or clips
✅ Rustic baskets
✅ Featured easels
✅ Emotional sample display
✅ Clear pricing signs
Tags:
Previous
48‑Slot Spinning Ink Pad Holder Review: The Ultimate Organizer for Crafters
Next
Portable Greeting Card Display Stand Tips to Boost Your Craft Fair Sales
Related articles
-
Nov 06 2025
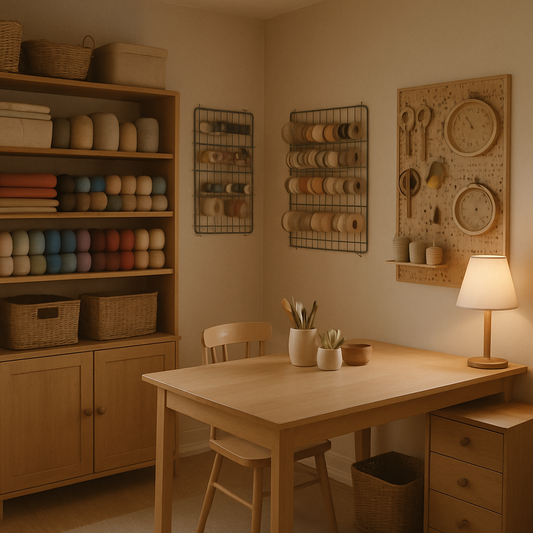
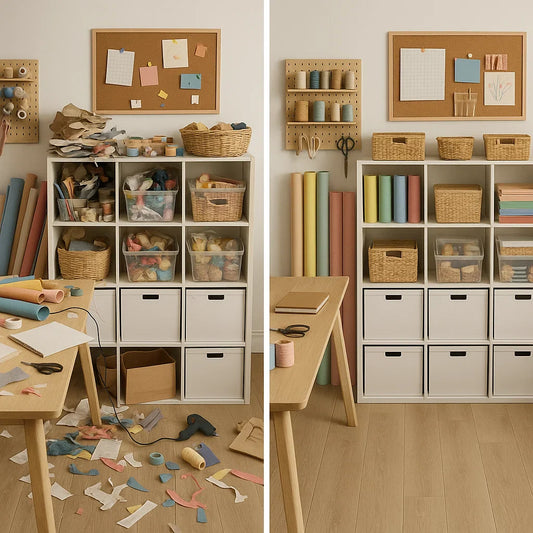
🧠 The Psychology of a Clutter-Free Craft Room

-
Oct 27 2025
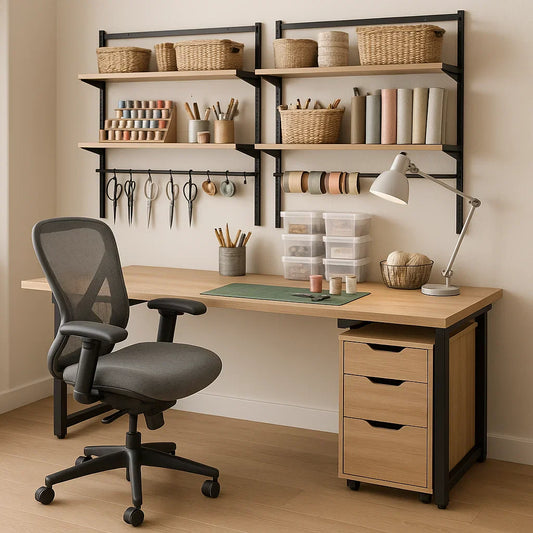
🎨 How to Design an Ergonomic Craft Workspace
-
Oct 20 2025
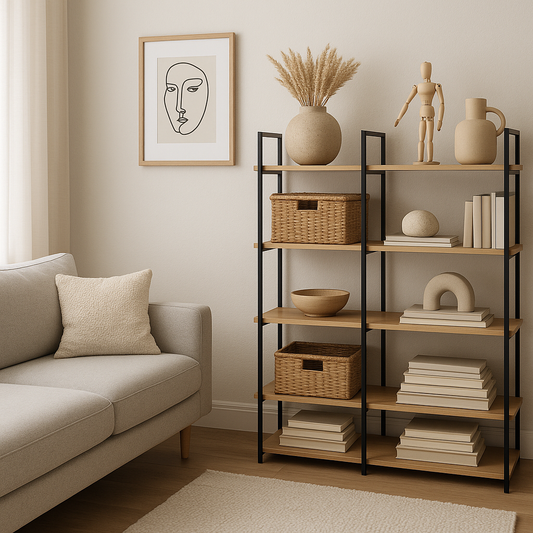
🎨 Decluttering Mistakes Crafters Should Avoid
-
Oct 17 2025
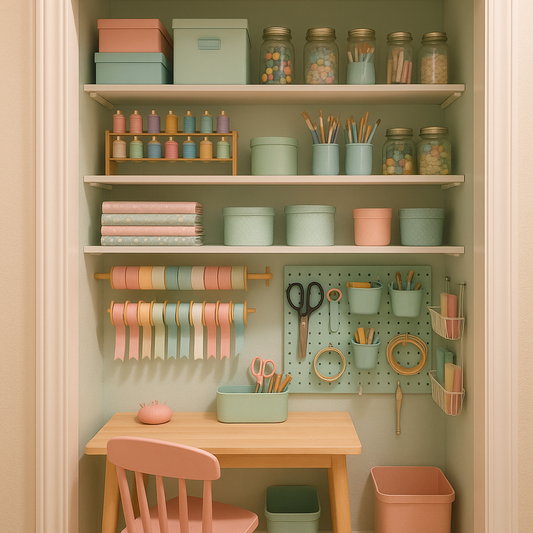
🎨 How to Turn Your Closet into a Mini Craft Room
-
Oct 15 2025
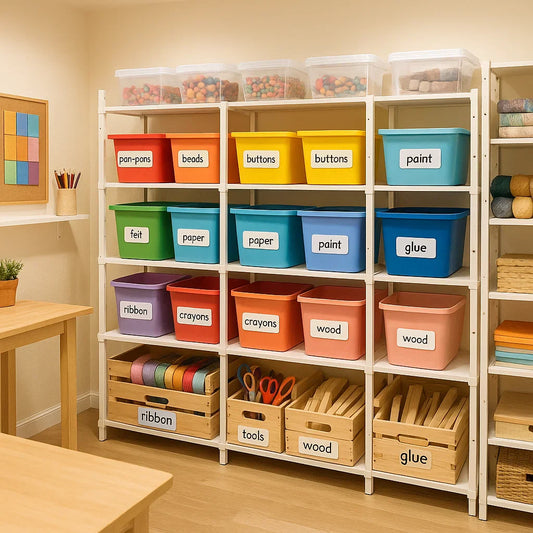
🎨 Smart Labeling Ideas for Craft Supply Organization

-
Oct 10 2025